
Learn how to hide and unhide photos on Mac using simple steps. Keep your personal photos secure with our step-by-step guide.
Privacy is essential when it comes to personal files and sensitive data. If you’re a Mac user looking to keep specific photos private, you’ll be glad to know that macOS offers built-in features to help you hide and unhide photos without the need for third-party applications. In this article, we’ll guide you through the process of hiding and unhiding photos on your Mac.
How to Hide Photos on Mac Using the Photos App
Hiding photos on your Mac involves leveraging the power of the Photos app, which comes pre-installed on macOS. Here’s how you can do it:
1. Open the Photos App:
Launch the Photos app by clicking on its icon in the Dock or searching for it using Spotlight (Command + Space and then start typing “Photos”).
2. Select Photos:
In the Photos app, navigate to the images you want to hide. You can select multiple photos by holding down the Command key while clicking on each photo.
3. Hide Photos:
With the desired photos selected, right-click (or Control-click) on one of the selected photos. From the contextual menu, hover over the “Hide photos” option and click on it.

4.Confirm Hiding:
A confirmation dialogue will appear, asking if you want to hide the selected photos. Click on the “Hide” button to proceed.

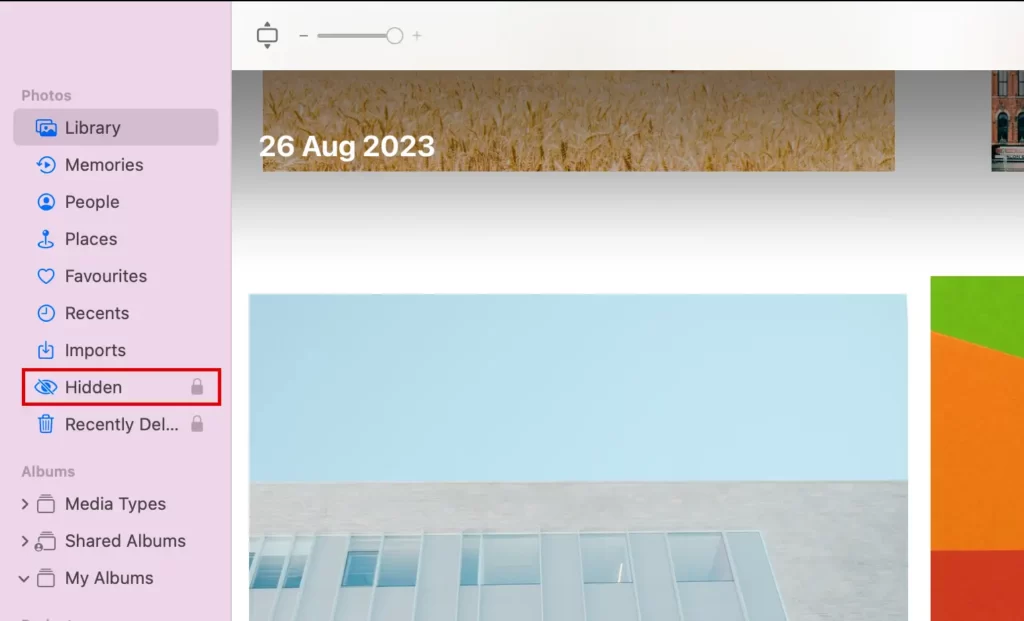
5. View Hidden Photos:
To view your hidden photos, go to the “View” menu in the Photos app and select “Show Hidden Photo Album.” This will reveal the hidden photos in a separate album.
Also Read – How To Hide Photos On IPhone
How to Unhide Photos on Mac Using the Photos App
Unhiding photos is just as straightforward as hiding them. Here’s how you can reveal your hidden photos:
1. Open the Photos App:
Launch the Photos app if it’s not already open.
2. Access Hidden Photos:
To access your hidden photos, go to the “View” menu and select “Show Hidden Photo Album.” This will display the hidden photos album alongside your other albums.
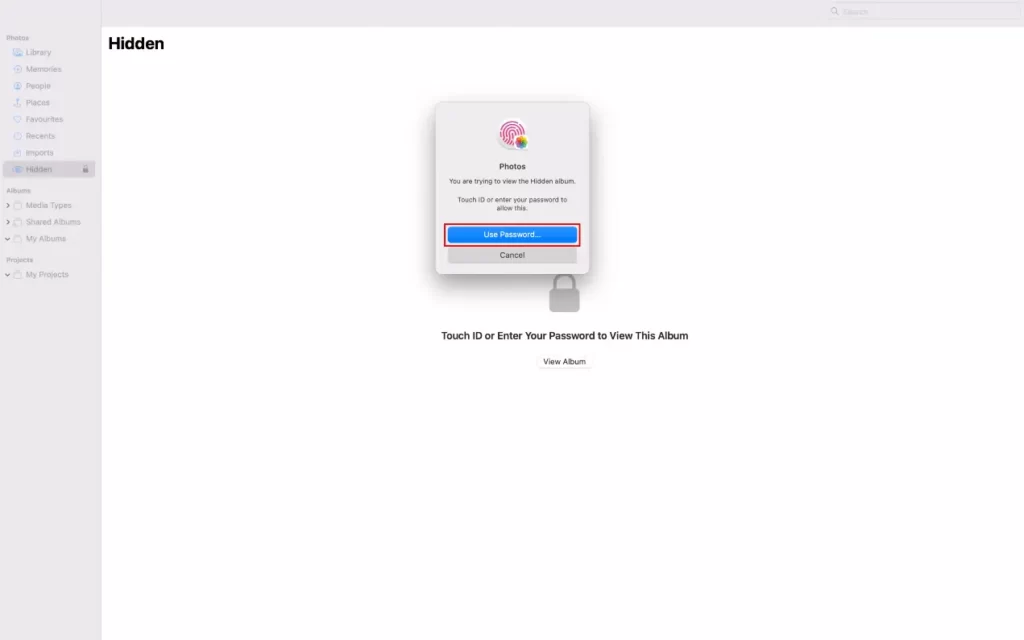
3. Provide your Touch ID or Password to view the photo/photos.
4. Select Photos to Unhide:
In the hidden photos album, select the images you want to unhide. You can do this by clicking on each photo while holding the Command key.
5. Unhide Photos:
Right-click on one of the selected hidden photos. From the contextual menu, hover over the “Hide” option, which should now be labelled “Unhide.” Click on it to unhide the selected photos.

6. Confirm Unhiding:
A confirmation dialogue will appear, asking if you want to unhide the selected photos. Click on the “Unhide” button to proceed.
How to Hide the Hidden Folder Using the Photos App
Once you’ve hidden photos on your Mac using the steps mentioned earlier, they go to a folder called “Hidden.” But if someone knows where to check in the Photos app, they can still find and see those hidden photos.
For added security, follow the steps below to hide the Hidden folder from your Photos app.
- Launch the Photos app on your Mac.
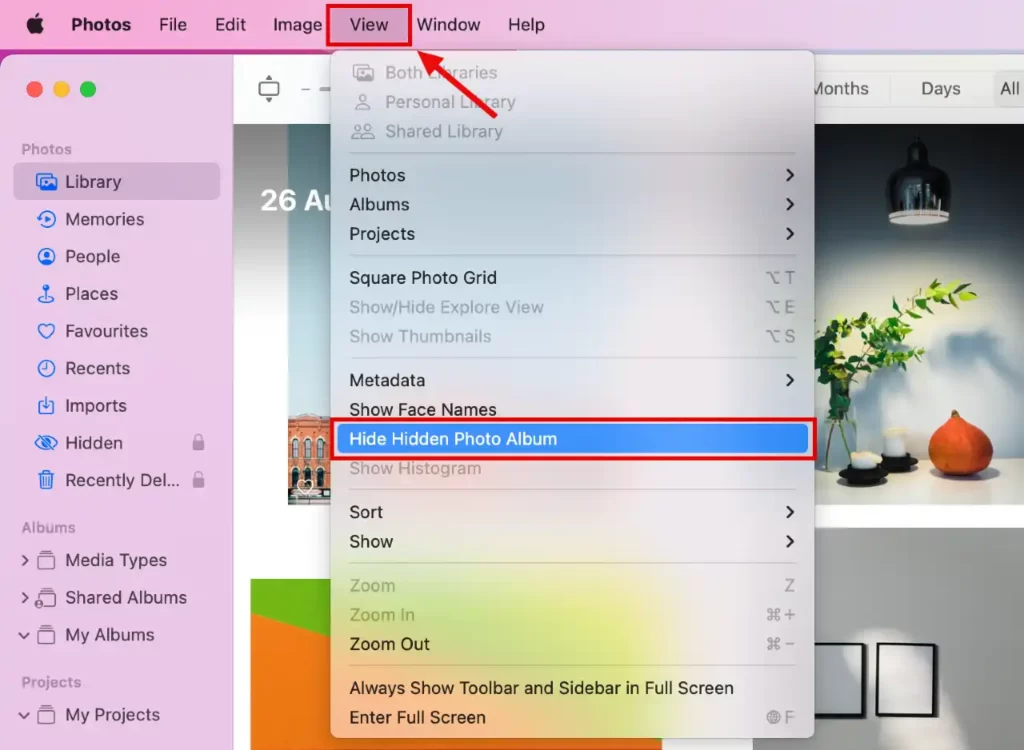
- Click View at the top of the screen.
- Choose Hide Hidden Photo Album.
The Hidden folder will not be displayed on the Photos app, and you can follow the same steps to bring the folder back.
Additional Tips:
- Secure Your Mac: While this method hides photos from casual viewers, it doesn’t provide robust security. If you have highly sensitive content, consider using third-party encryption tools or secure folders.
- Create Albums: You can organize your photos further by creating albums within the Photos app. Albums can help you group photos based on specific themes or occasions.
- Backup Your Photos: Before making any changes, it’s a good practice to back up your photos to an external drive or cloud storage to prevent data loss.
Conclusion:
With macOS’s built-in Photos app, you can easily hide and unhide photos to protect your privacy without the need for additional software. This feature is helpful for keeping personal photos away from prying eyes while still maintaining convenient access when needed. Remember that while hiding photos offers a level of privacy, it’s not a substitute for more advanced security measures for highly sensitive content. Always use encryption and secure practices for truly confidential files.
Read More – Mac